

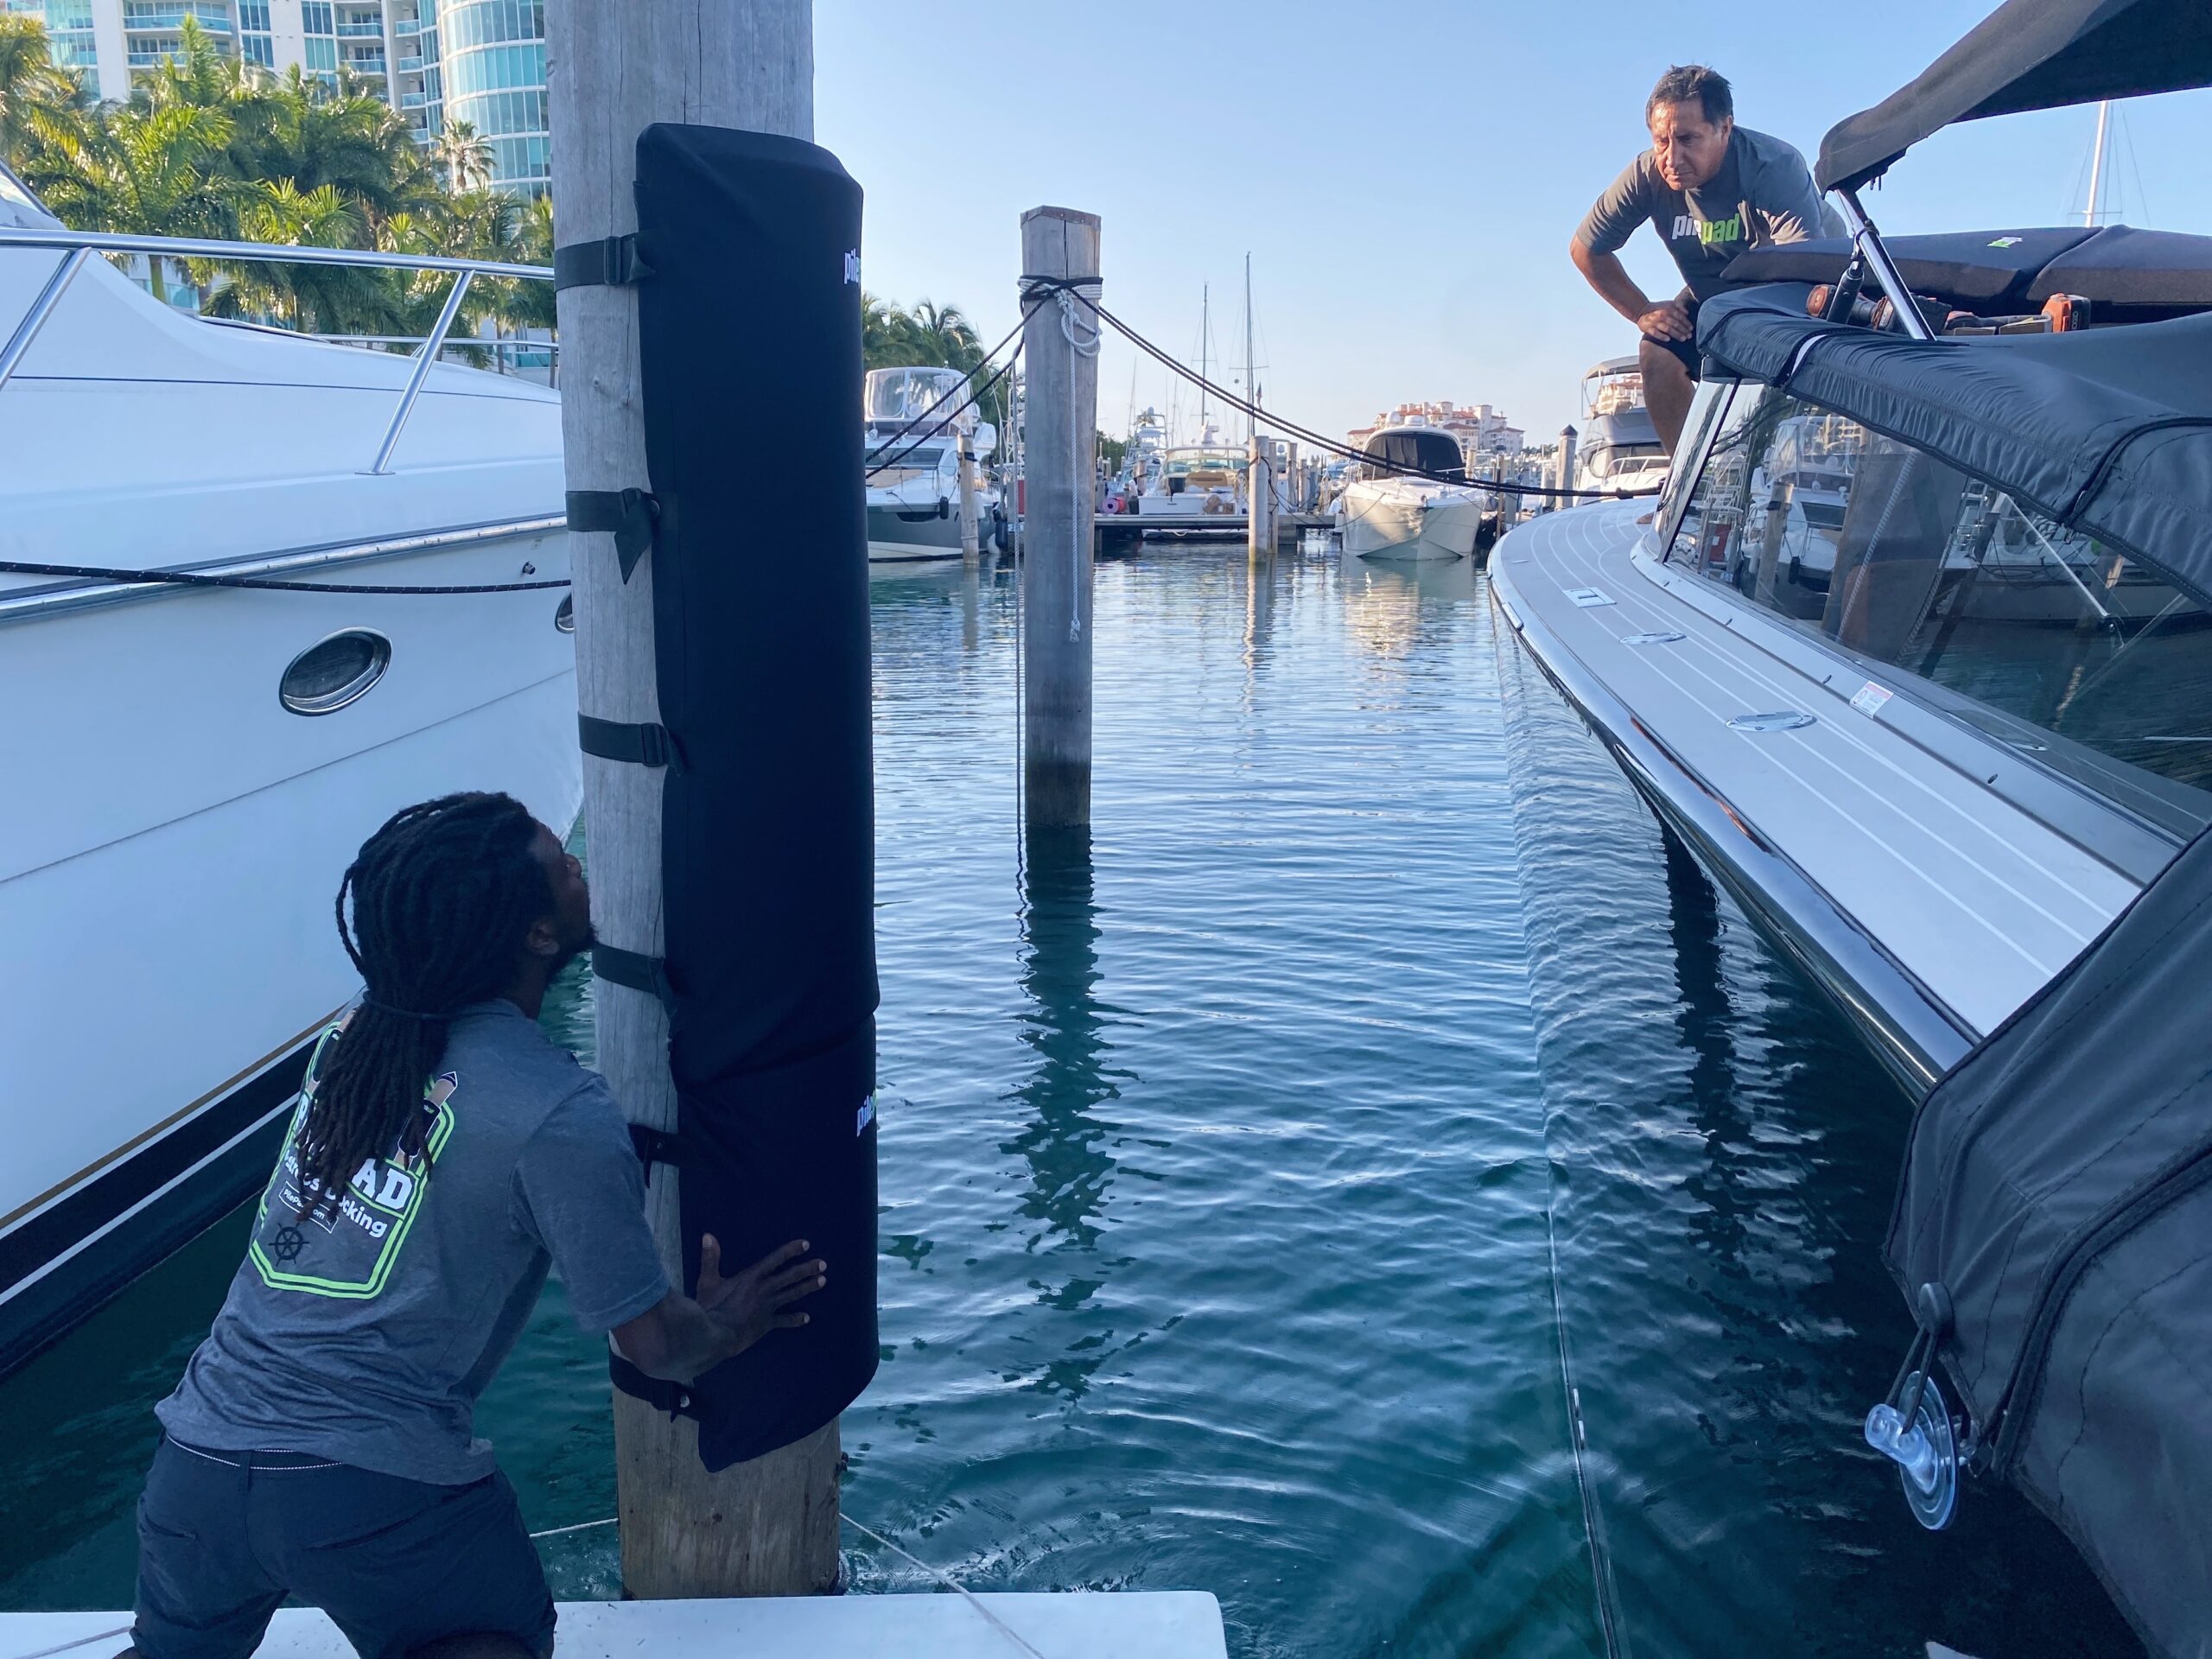
You’re Ready to Install Your PilePads. Follow these tips to maximize your PilePad’s effectiveness with quick, effective installation.
BEFORE PILEPAD INSTALLATION, CREATE THE BEST ENVIRONMENT FOR YOUR PRODUCTS:
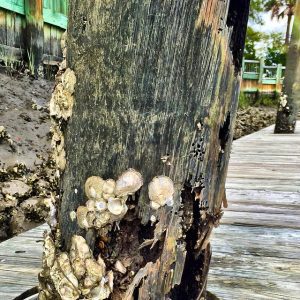
Remove any oysters, mussels or barnacles growing within range of your boat. This is best done with a flat shovel and some force.
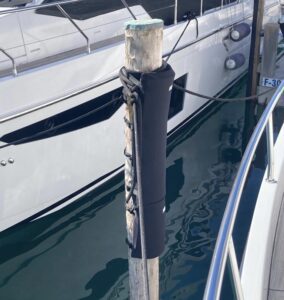
Rearrange (or remove altogether) dock lines that may obstruct a flush installation of your PilePads to their piling. Existing lines prevent the PilePad from fitting snug around the piling, rendering its grip less effective.
Check your boat’s exterior, and especially the rub rail, for exposed screws, sharp edges or other abrasive imperfections. These can tear PilePad’s neoprene shell, voiding the warranty.
The presence of just one of the factors above can significantly impact the effectiveness of your PilePads. For questions or guidance for your installation, contact us via Instagram direct message.
YOU’VE CLEARED YOUR INSTALLATION SPACE AND YOU’RE READY TO INSTALL. FOLLOW THESE 3 STEPS FOR PROPER INSTALLATION.
Step 1: Height
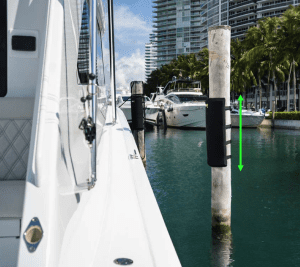
Choosing the optimal height of your PilePad will depend on the style of boat you’re protecting.
For boats with flare (think fishing center consoles which widen as you get further from the waterline), you’ll want to align the top of your PilePad with the boat’s closest “flare point” at high tide.
For boats with a vertical sidewall, use the same method of aligning the top of the PilePad to the top of your vessel’s hullside. Without flare, your boat’s waterline and lower portion are more exposed. You may consider adding PilePad Mini’s to provide more vertical coverage.
Step 2: Direction
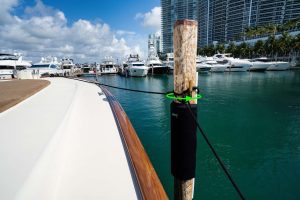
Pay close attention to where your boat would come into contact with the PilePad, should contact be made. You can test this by pushing/pulling your boat towards the piling after you have it tied up. This will show you exactly where your boat would make contact, and subsequently, what placement/angle you should direct your PilePad for optimal protection.
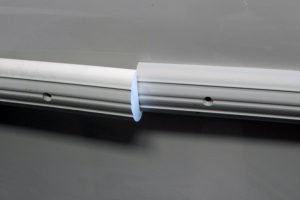
Step 3: Tension
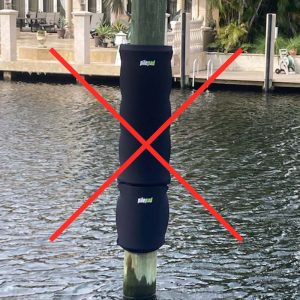
Once you’ve selected the preferred direction of your PilePad, tighten the straps equally without over-tightening any one strap. The straps should be tight enough to prevent lateral movement when under stress, yet not too tight where the shell is being pulled away from the interior foam. If the PilePad is wavy (photo above), its too tight.
Don’t forget: Your boat is HEAVY. When it comes in contact with PilePads, it may shift the pad’s location. As long as we’ve prevented damage, a shift in the PilePad is acceptable.
Key Takeaways:
- PilePad products provide protection from scratches, dents and dings caused by exposed structural dangers at your dock.
- Poor installation or infrequent rechecks can limit PilePad’s effectiveness.
- Our strap and buckle securing process does not require power tools or permanent installation. If you need a more fixed solution, contact Orders@PilePad.com.
- During install, focus on three factors: Height, direction and tension.
- If you have questions or are unsure about your PilePad installation, contact us.
- Visit our Installer Network page to find a certified installer in your area.